If you’re an avid tech news hound, headphone enthusiast, or Apple follower, you might’ve heard about the recent issue with noise-cancelation on the AirPods Pro. Basically, a firmware update (the alluringly named 2C54) has reduced the effectiveness of this sound-supressing feature for many users. Now, you might be suffering from this very issue — or maybe you’re just interested in the particulars of your AirPod’s firmware version — but whatever the reason for being here is, remember one thing: we’re here to help. [Check this out: Don’t believe everything you read about AirPod sales] How? Well, we’re going to show you how to check your AirPods’ firmware version, a method that’ll work no matter what pair of Apple’s true wireless headphones you have. So, let’s get into it people!
This is the part where we tell you how to find your AirPods’ firmware version
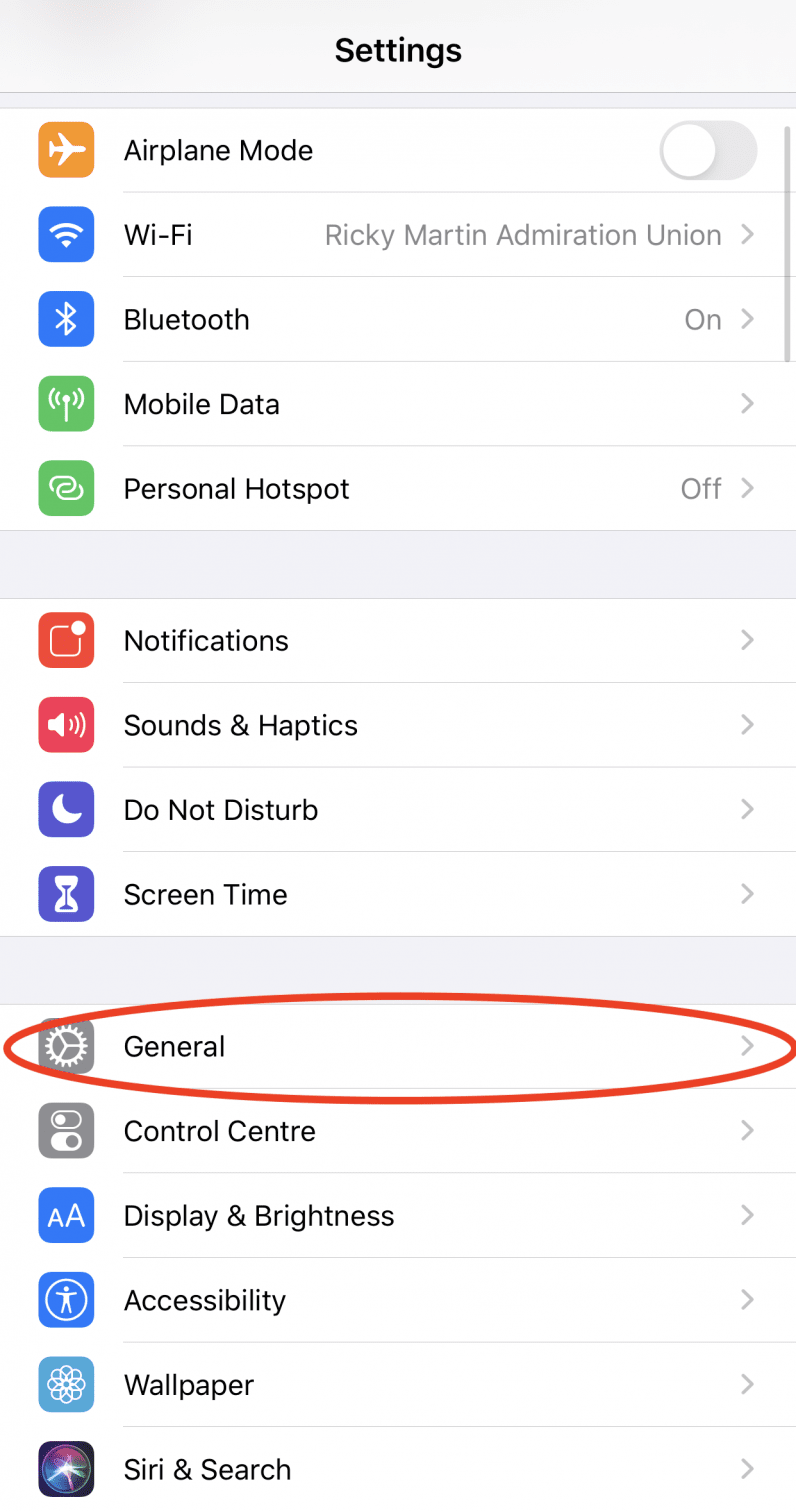
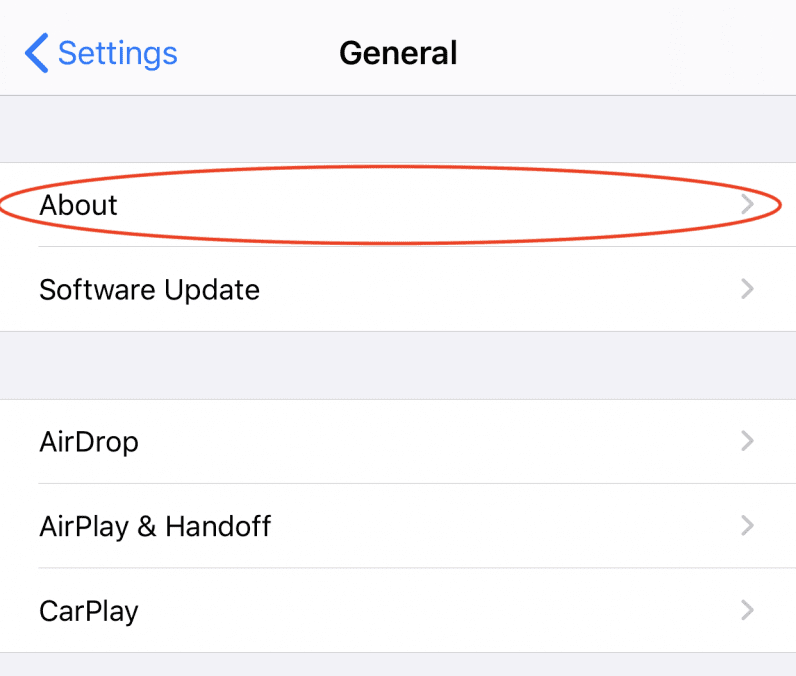
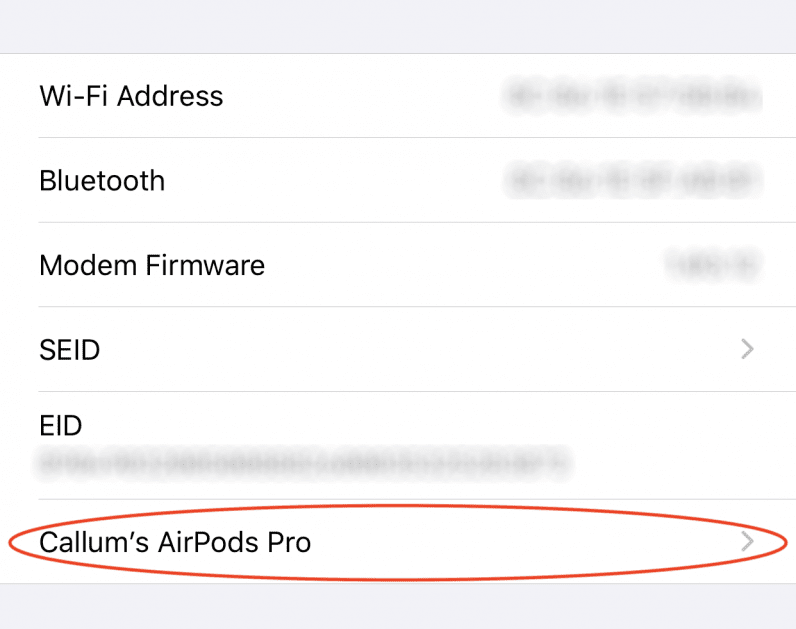
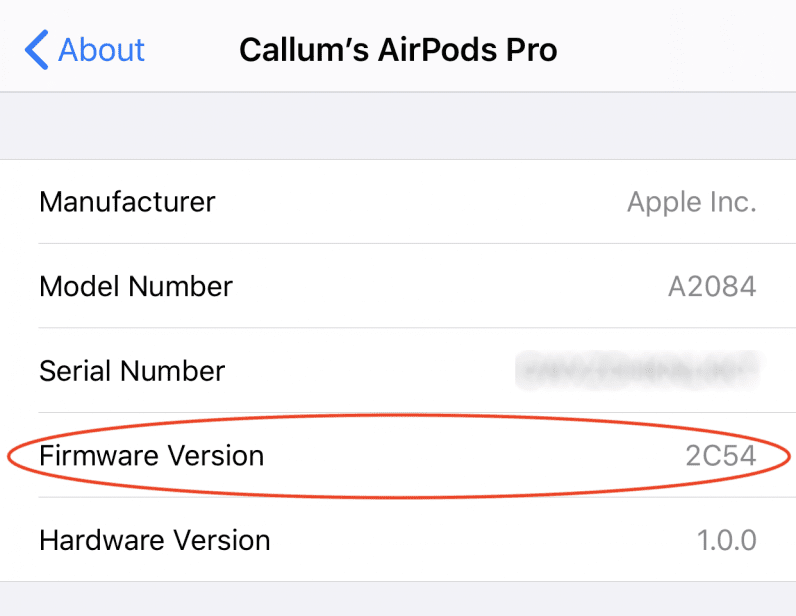
Right, first thing you need to do is connect your AirPods to your phone. The easiest way to do this is to take them out and pop them in your ears. Done that? Great! Then you need to head into ‘Settings’ on your iPhone. Once you’re there, click on ‘General.’ After you’ve run through that gauntlet and are on the ‘General’ page, the next thing you need to do is select ‘About.’ Phew, glad we got through that. Now you’re deep into the ‘About’ page, we’re going to need you to click on something else. Don’t worry, you’ll be seeing your AirPods’ firmware version soon. Basically, scroll down a little bit until you see a menu like this: Don’t see that option on your phone? Then there’s a strong chance your AirPods aren’t actually connected to your device. Try heading into Bluetooth settings to sort that out. Anyway, if you were successful, you should see a screen like this: So, there you have it one and all! An easy guide to find out exactly what your AirPods’ firmware version is — simple! Anyway, if there are any specific Basics articles you’d like to see, hit us up on Twitter and let us know. Until next time, farewell.


